
Bench Notes highlights the tools that earn a place on my desk, in my bag, or on my workbench: the ones I use, the ones I like, and occasionally, the ones I don’t.
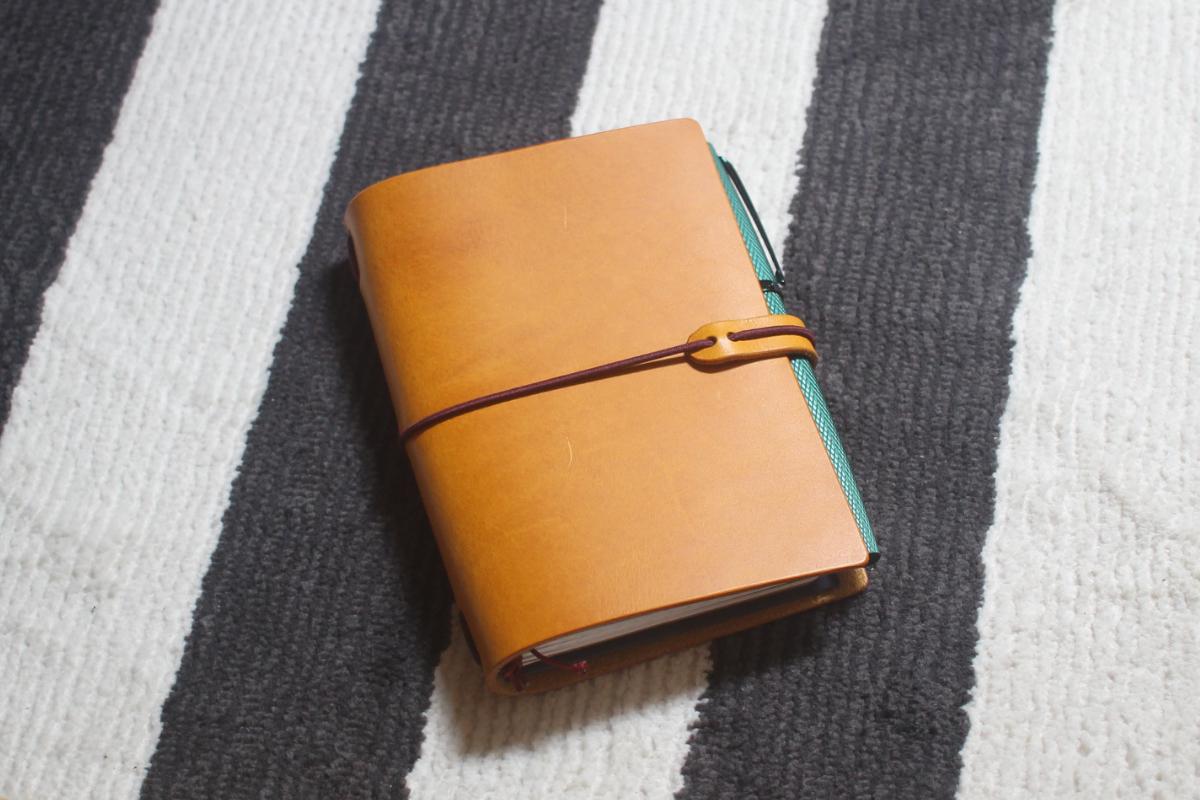
I always have a hard time purchasing something that I think I can even remotely make myself. A recent example is this: a custom leather notebook cover in the same style as a Traveler’s Journal.
How This Project Started
We have a local small stationery shop by us, Paper & Pencil, that we frequent. One of our favorite stores in the city. They have everything from notebooks, cards, ballpoint pens, fountain pens, and inks. During a recent visit, I came across some small pocket notebooks that were filled with colored paper. I thought they were really unique, and I just had to have them.
They are Traveler’s Company brand, and are part of their passport sized notebook system. I do have a Traveler’s Journal, but the “regular” size, I believe half A5. It’s great, I use it for longer form writing/journaling. It’s also really nice quality, and I would be terrified to throw it in a bag. In fact, I keep it in its cotton cloth sleeve it come packed in.
I always wanted a passport sized Traveler’s Journal, but never pulled the trigger because it’s a whole new system, and I have so many already. A problem I will never solve, and will probably just keep buying notebook systems.
Anyways, I was interested in getting the leather journal cover, but they didn’t have any in stock. I looked online, but everything is either sold out, very limited colors, or just way too expensive. Look, I own one already, I do know they are high quality, but it’s also just a piece of leather…
Couldn't I Just... Make It?
I’ve actually created leather journal covers in the past. I have some leather crafting materials from that endeavor. I never liked the things I created, but I was also using Michael’s store brand leather sheets. Which at the time, I thought weren’t so bad.
I’ve always wanted to create a leather cover for my Field Notes pocket notebooks. But I eventually just bought a nice one.
But the itch came back. I could totally create this. It’s just a sheet of leather with some holes punched in it for some elastic bands. How hard can it be?
The Materials
Here’s everything I needed to complete this project. Not everything is essential, and this really can be done with materials you might have around the house. I dive deeper in the next section.
Essential Materials:
- Leather: Conceria Walpier Buttero, Yellow - 5oz/2mm - Veg tanned
- 2mm elastic cord
Tools:
- Ruler - cork backed is good to not scratch the leather
- Super sharp blade - I use an Olfa blade
- #0 (0.6mm) edge beveler
- Tokonole burnishing gum
- Burnishing tool + cotton canvas/cotton cloth
- 2mm leather hole punch. An awl could work, but the hole punch really does make it look nice
I would actually recommend both 2mm and also a 1 or 1.5mm elastic cord. The 2mm is great for the main elastic running the spine, and the elastic closure loop, but the elastic for connecting two of the notebooks could be thinner. Not a deal breaker.
I chose Conceria Walpier - Buttero 5oz veg tanned leather. The leather is stiff, but not too stiff, and should relax over time. I was afraid 5oz was going to be too thick but it’s honestly perfect. It’s not as floppy as Traveler’s Journals, so if you’re looking for that, maybe get 3oz/1.2mm.
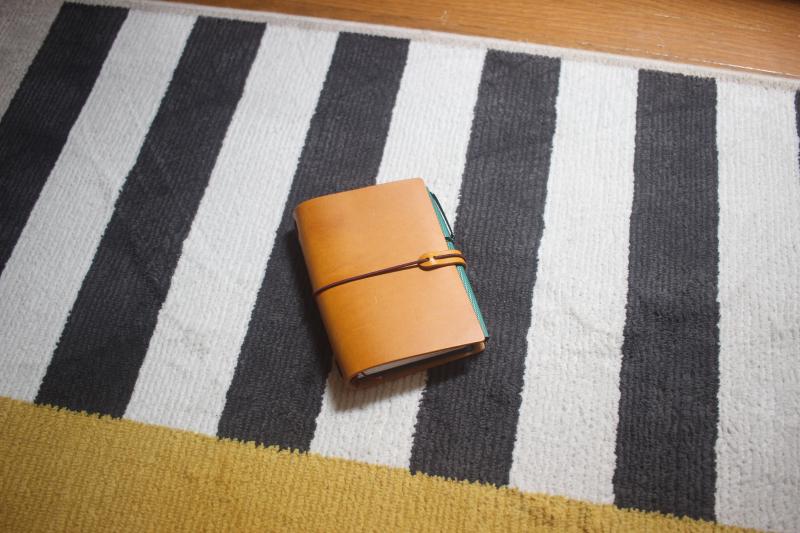
The leather color I chose was yellow, and although I was expecting it to be more yellow, I think it’s beautiful. It instantly reminds me of my baseball glove I had as a kid. Couldn’t be happier with the quality of this leather. Seriously.
The leather should take on a patina over time. After just a week of using it I can already see some darkening spots. I really cannot wait for this to take on some more character.
The Dimensions + Process
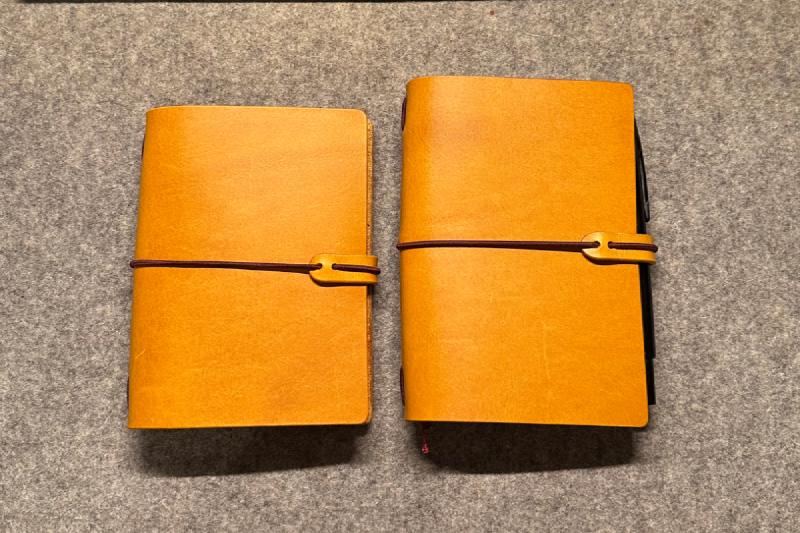
Here are the dimensions of the two covers I made.
Passport:
- 218mm x 137mm (spread flat)
- corners rounded to 1/8"
Field Notes sized:
- 218mm x 148mm (spread flat)
- corners rounded to 1/8"
Cutting it with a sharp knife is key. It should cut like butter.
For the rounded corners I used a stencil that has rounded edges and their appropriate sizes, so I chose 1/8" rounded corner. Using a coin, like a dime, as a guide also works. You can do this by eye, or not at all. However, a rounded, beveled edge adds some strength to the corners, so it’s highly recommended.
With that said, the edge beveler, Tokonole burnishing gum, and burnishing tools are not totally necessary, but I highly recommend them and watching a tutorial online on how to burnish edges. It’s really easy, and truly makes this look like a real professional product. Plus, it keeps the edges strong, secure, and prevents it from splitting over time.
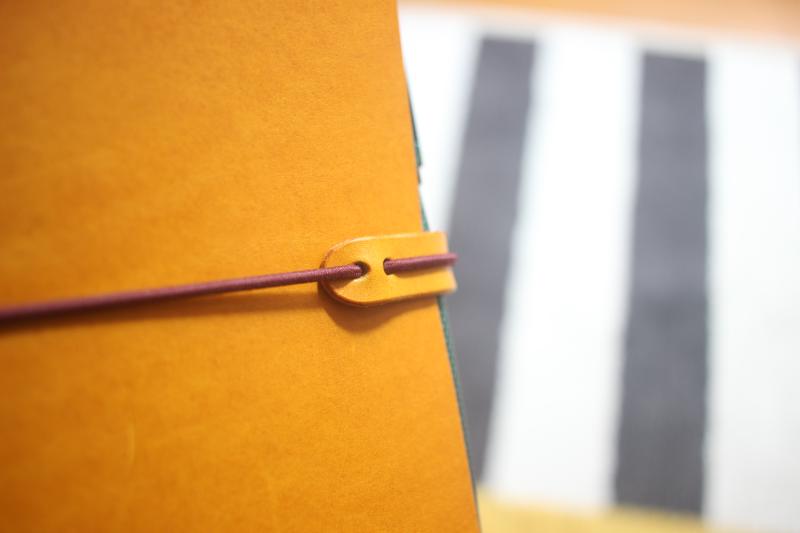
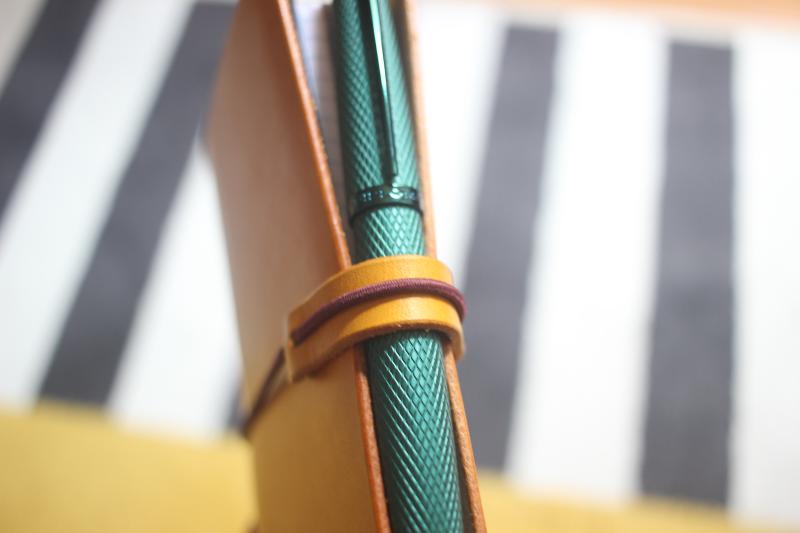
I used a thin off-cut that I had to create a leather band that I attached to the elastic that closes the cover. This is not required, but it will help with the elastic digging into the leather edge, and also helps keep pens secure when tucked into the overhang.
The Mods
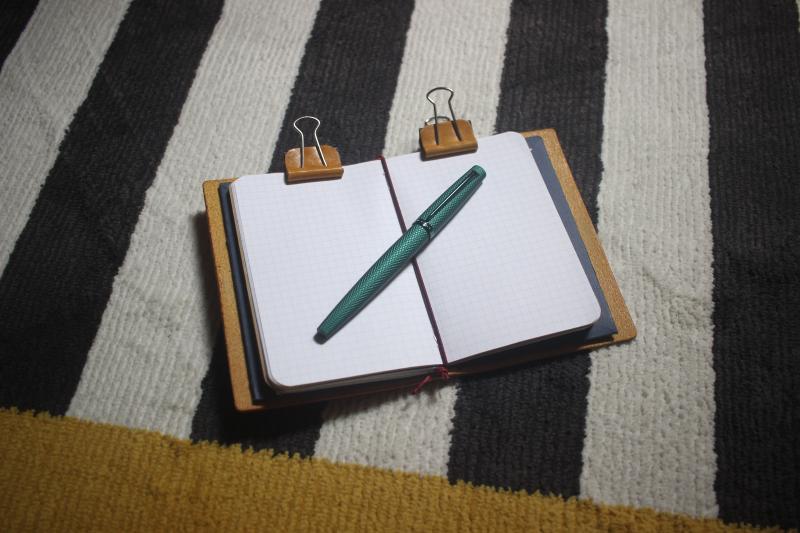
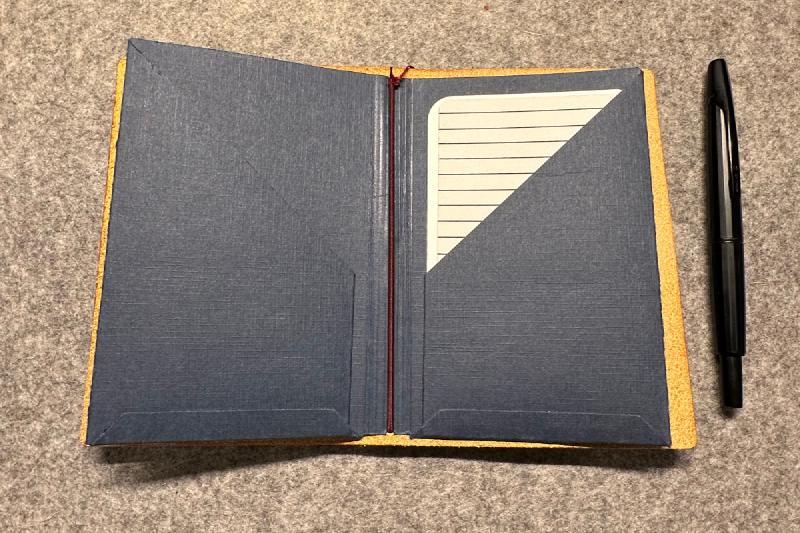
I made my notebook slightly larger. I hate when the notebooks come right up to the edge, so I wanted to wiggle room. I also found this was perfect for tucking in a pen/fountain pen, held in place by the elastic.
Here is a close up photo of the leather band I mentioned earlier. I used some thin scrap and a special paper/leather hole punch to create these thin bands I could weave through the elastic that goes around the cover.
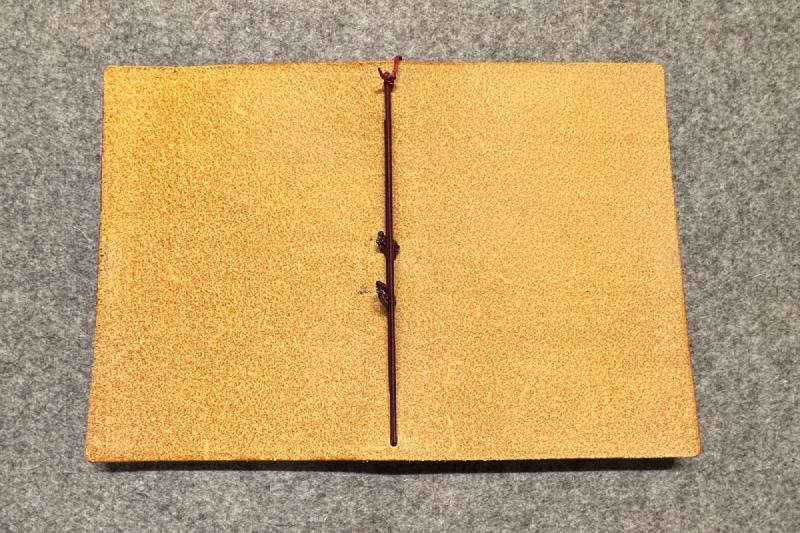
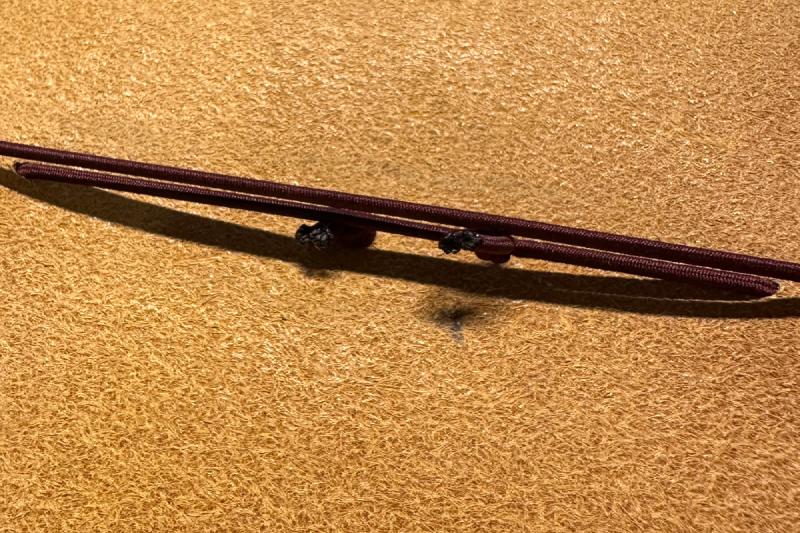
The only thing I don’t love about Traveler’s Notebooks is the elastic cord that goes around the entire journal cover comes from the middle of the back cover. It creates a lump when you’re writing on that side. So I moved that hole to the spine.
I also don’t love the metal clasp, so I just tie my elastic off on the inside.
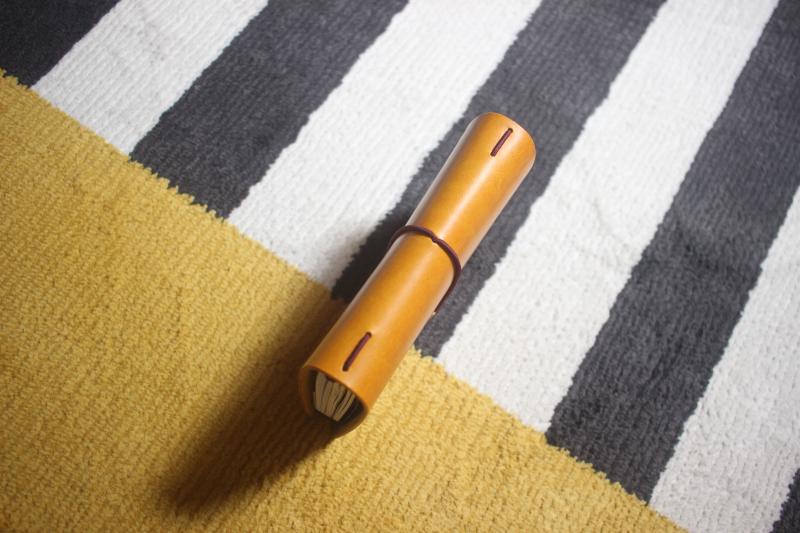
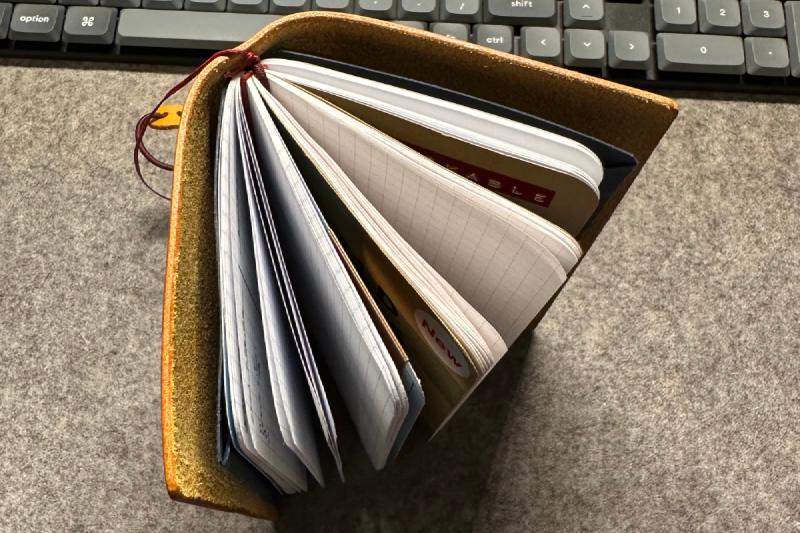
I have one elastic running the spine that I use to attach one notebook. Then I use an elastic loop to attach two more notebooks spine-to-spine and slip that under the middle notebook, which creates a great way to use three notebooks.
The Yield
Like I said, this piece of leather yields at least two covers. I decided to create the standard passport size, as well as a Field Notes size which is just slightly taller. The latter size is actually what I have ended up using currently, as I have like three to four Field Notes notebooks I still need to finish.
What's Next?
I might create the card sized notebook cover. I’m not sure yet. It would just be for fun, I don’t think I would use it. Certainly not for a wallet, which seems to be its most popular use case right now.
What I will most likely do next is purchase more leather and create an A5 sized leather cover. I may or may not already have it all sketched out… I have these two large-sized Field Notes that are 6”x8”, so close to A5. Previously, for work, I would use an A5 Leuchtturm notebook for all of my work notes and to-do lists. It worked great, but the cover of that notebook started to deteriorate before I could even finish it. So I think an A5 size would be pretty useful, especially for sketching out ideas and working on projects to jot down notes on a page, instead of filling up multiple pages in a pocket notebook.
With that said, that would mean creating all of my own paper notebooks. Which is easy, I create pocket sized notebooks all the time. It’s a great way to use fountain pen friendly paper as opposed to the thin paper you find in Field Notes. But it could get old after a while. We’ll see…
Conclusion
I’ve been super happy with how this project turned out. I am excited to see how this leather will patina and wear with age. It feels good to create it myself, and I don’t mind throwing it in my bike bag or taking it out at the coffee shop. If it gets stained or scratched, it’s fine, I didn’t spend $50-90 on it. I could just create a new one, but that’s the best part of these leather journals, they’re supposed to show wear and tear, and they can take a beating. It’s just part of the look and experience.